
Walk-In Shower Glass in Dubai: Measurement and Installation Guide
Plan walk-in shower glass in Dubai with practical guidance on layouts, final measurement, safety glass, water control, hardware, installation, and quotation details.
Quick answer
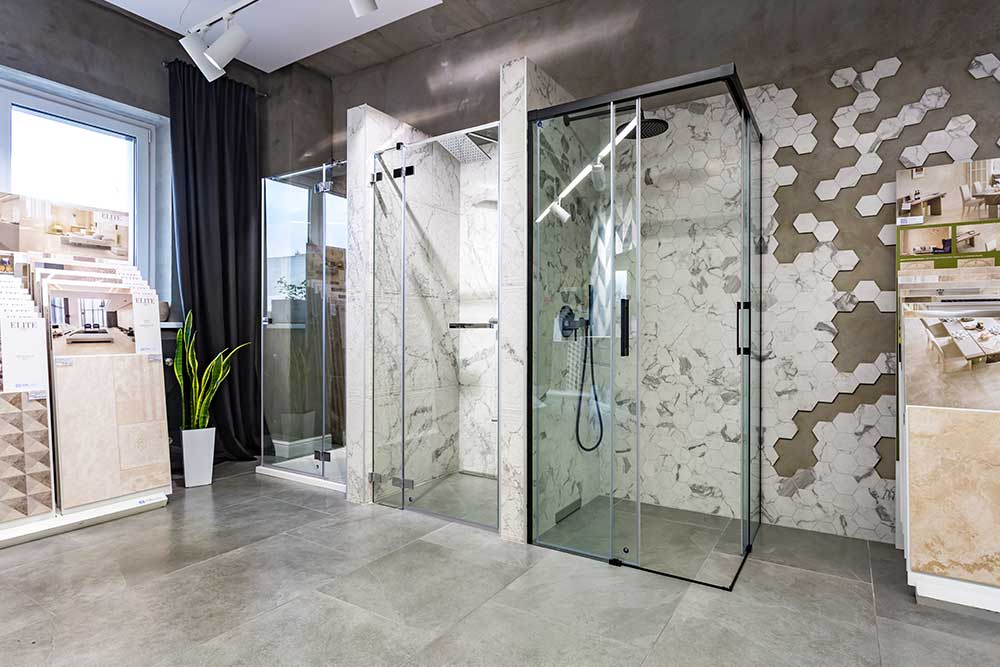
A successful walk-in shower screen starts with the finished bathroom, not a nominal drawing. The installer should confirm the shower layout, finished floor and wall levels, falls to the drain, waterproofing limits, glass height and width, entry clearance, water direction, fittings, ceiling conditions, and fixing zones before the glass is fabricated.
Glass World supplies and installs custom shower enclosures and shower glass for villas, apartments, hotels, and other properties across Dubai and the UAE. Final measurement after tile and stone work helps reduce gaps, clashes, and expensive remakes.
Choose a layout that contains water
A single fixed panel gives a clean, open appearance, but it must be long enough and positioned correctly for the shower head, spray pattern, user movement, and room dimensions. Compact bathrooms may need a return panel, hinged deflector, or door to improve water control without blocking access. Larger wet rooms can use a wider fixed screen when the drainage and floor falls support an open layout.
Draw the glass line on the finished floor before ordering. Check the clear walking route, toilet and vanity clearance, towel access, shower controls, cleaning reach, and whether water can escape around the open end. The visual simplicity of a frameless screen should not come at the cost of a slippery bathroom floor.
Measure only after finishes are complete
Tiles, stone slabs, niches, thresholds, ceilings, and sanitary fittings can all change the usable opening. Final site dimensions should record width at multiple heights, wall plumb, floor level, slope, out-of-square conditions, panel height, and any variation in the finished surfaces. Templates may be useful where the glass follows a sloping ceiling, bench, kerb, or irregular stone edge.
Confirm that drilling will not damage concealed pipes, electrical cables, waterproofing details, underfloor heating, or fragile finishes. If dimensions must be taken before completion, assign responsibility for the final opening and allow realistic tolerances; toughened glass cannot be trimmed or drilled after processing.
Specify appropriate safety glass
Shower screens are impact-prone glazing and should use a suitable safety-glass specification for the panel size, support method, hardware, and project requirements. Toughened glass is commonly considered because it can be processed for hinges, clamps, handles, and channels before heat treatment, while project-specific conditions may require another safety build-up.
Thickness should not be selected by appearance alone. Panel height and width, unsupported edges, return panels, door weight, hardware capacity, fixing centres, deflection, and the manufacturer's tested system all matter. Ask the contractor to state the proposed glass type, thickness, edge finish, heat-treatment standard, and hardware system in the quotation.
Plan hardware, channels, and support
A walk-in screen may be held by wall and floor channels, discreet clamps, stabilising bars, ceiling supports, or a combination. Channels can accommodate some site variation and give continuous support; clamps create a lighter visual line but require accurate surfaces and well-planned fixing points. Tall or wide panels often need additional bracing even when the desired look is fully frameless.
Choose hardware finishes with the taps, shower fittings, handles, and bathroom accessories in mind. Chrome, brushed finishes, black, and other coatings can weather differently in a wet, frequently cleaned environment. The specification should also account for corrosion resistance, compatible gaskets, protective setting blocks, and access to tighten or replace fittings later.
Control leaks without relying on sealant alone
Glass does not correct a floor that falls away from the drain or a shower head aimed directly at the opening. Review the threshold, channel drain, kerb, waterproofing, tile joints, wall junctions, and likely spray path before installation. A small return panel or revised shower-head position can sometimes improve performance more effectively than adding visible seals after handover.
Sealant should be compatible with the glass, metal, stone, tile, and waterproofing system, and it needs the correct joint preparation and curing time. Keep drainage paths clear and avoid details that trap water beneath channels or fittings. For an existing enclosure with persistent leakage, a survey may show that shower door repair or a layout change is needed rather than another bead of silicone.
Coordinate installation with the bathroom programme
The bathroom should be dry, accessible, and substantially complete before installation. Protect stone, sanitaryware, joinery, and finished metalwork; confirm lift and corridor access for the full panel; and provide enough working space to manoeuvre the glass safely. Large panels in occupied villas or apartments may need a planned delivery route and building approval.
During installation, check edge clearances, setting blocks, glass-to-glass alignment, support-bar position, fastener engagement, panel stability, and consistent sealant joints. Allow the specified curing period before using the shower. At handover, inspect for chips, scratches, hardware movement, excessive gaps, water escape, and easy cleaning access.
Cleaning, coatings, and maintenance
Dubai's water conditions and frequent shower use can leave mineral deposits and soap residue on clear glass. A squeegee after use, ventilation, and regular cleaning with products approved for the glass, hardware, seals, and coatings will help maintain the finish. Avoid abrasive pads, blades, harsh chemicals, and cleaning products that attack metal coatings or silicone.
Easy-clean surface treatments may reduce adhesion of deposits, but they do not eliminate cleaning and can have specific care instructions. Periodically check clamps, support bars, channels, seals, and exposed silicone. Arrange an inspection if the panel moves, hardware loosens, edges chip, seals detach, or a door begins to scrape or sag.
Cost factors and quotation checklist
Walk-in shower glass cost depends on panel size, glass type and thickness, cut-outs, notches, holes, edge polishing, hardware brand and finish, channels, support bars, access, templates, removal of old glass, protection, installation complexity, and the number of bathrooms. Oversized panels, special shapes, difficult delivery routes, and premium finishes can materially affect the price.
For a useful quotation, share bathroom photos, approximate finished dimensions, drawings, tile and stone details, desired glass height, preferred hardware finish, shower-head position, drainage layout, property location, lift or stair access, target date, and whether old glass must be removed. Final production dimensions should still be taken on site after finishes are complete.
Plan your walk-in shower screen in Dubai
Glass World can survey the finished opening, coordinate custom glass fabrication, recommend a practical support arrangement, and complete shower glass installation. Early coordination between the glass installer, fit-out contractor, plumber, waterproofing team, and tile or stone installer gives the best chance of a stable screen with controlled water.
Send photos, drawings, approximate dimensions, the project location, and your preferred style to begin. A site visit can then confirm levels, fixing zones, access, final glass sizes, hardware, and any bathroom details that should be corrected before fabrication.
Low-E Glass in Dubai: Window and Facade Heat Control Guide
Plan a low-E glass upgrade in Dubai with guidance on solar heat, insulated units, coatings, frame compatibility, replacement, appearance, and quotation details.
Read article
Steam Room Glass Door in Dubai: Enclosure and Installation Planning Guide
Plan a steam room glass door in Dubai with guidance on safety glass, door swing, seals, ventilation, hardware, measurement, installation, and maintenance.
Read article
Office Glass Frosting in Dubai: Privacy Film vs Frosted Glass Guide
Compare privacy film, sandblasted, etched, and frosted glass for Dubai offices, with guidance on coverage, manifestation, branding, cleaning, installation, and cost.
Read article